
One Way RF Communication with Arduino and Node
Here I will document how I put together a node controlled RF receiver and transmitter using relatively inexpensive RF parts and a fork of ecto’s duino framework.
For a recent side project, I needed to wirelessly send data from one Arduino to another, and have the receiver do some data processing via node. I ended up using a pair of Wenshing RF receivers / transmitters to do the wireless communication as they were inexpensive and easy to use. On the software side, I used a forked version of ecto’s duino framework to interface with the Arduinos and support RF communication. If you’re in need of building something similar, read on!
Let’s Build It
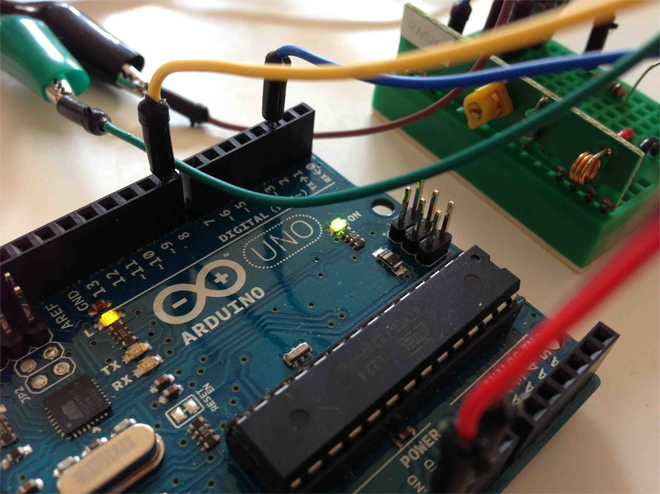
First things first, I bought an RF link receiver and transmitter from SparkFun for a total cost of less than $10. Here’s the schematic drawing of the receiver I wired up.
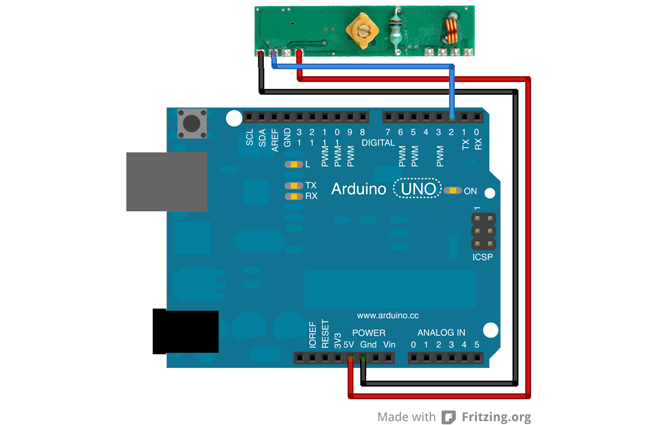
Here’s the schematic of the transmitter. You can optionally attach a wire to the right-most pin to extend the antenna for more reliable transmission. Same goes for the receiver above.
[RF]Duino
For all my Arduino projects, I’ve been using ecto’s duino framework. It’s plain simple and easy to use. Unfortunately, it doesn’t support RF communication, so I decided to fork it and write my own library. This library supports both receiving and transmitting data via RFReceiver and RFTransmitter classes.
The first thing you’ll want to do is install the framework as a node module to your project (assuming, you already have a node program created):
npm install git://github.com/khirakawa/duino.git
Note that this flavor of duino replaces the servo module with the RF modules, so if you’re looking to use both, my fork won’t do.
Next, upload the framework’s Arduino sketch located at node_modules/duino/src/du/du.ino to your Arduino. The same sketch should be uploaded to both your receiver board and transmitter board. This program issues commands to the RF receiver / transmitter on behalf of your node app.
That’s it! Preparation done.
You can now transmit data by doing:
var arduino = require('duino'),
    board = new arduino.Board();

board.on('ready', function(){

  var rfTransmitter = new arduino.RFTransmitter({
    board: board,
    pin: '03'
  });

  rfTransmitter.send("hey there delilah");
});
And receive it with:
var arduino = require('duino'),
    board = new arduino.Board();

board.on('ready', function(){

  var rfReceiver = new arduino.RFReceiver({
    board: board,
    pin: '02'
  });

  rfReceiver.on('read', function(err, data){
    console.log("data", data);
  });
});
The library does impose a hard limit of 26 characters for a single transmission. If you need to send more, simply call rfTransmitter.send multiple times, sequentially.
For more information on other available commands, consult ecto’s documentation.
Next Steps
I had to remove the servo module from duino because the Servo.h include in the du.ino sketch conflicted with the VirtualWire.h library used for RF communication. Future versions will have this fixed.
If you need an even cheaper, smaller, and more reliable wireless Arduino board, I would highly suggest purchasing an RFDuino made by OpenSourceRF. It’s quite a remarkable piece technology and opens up a ton of new possibilities. I can’t wait for my RFDuino to arrive! Until then though, what I’ve outlined above will suffice =).